LEFT & LOST FLYERS
An In-depth Explanation
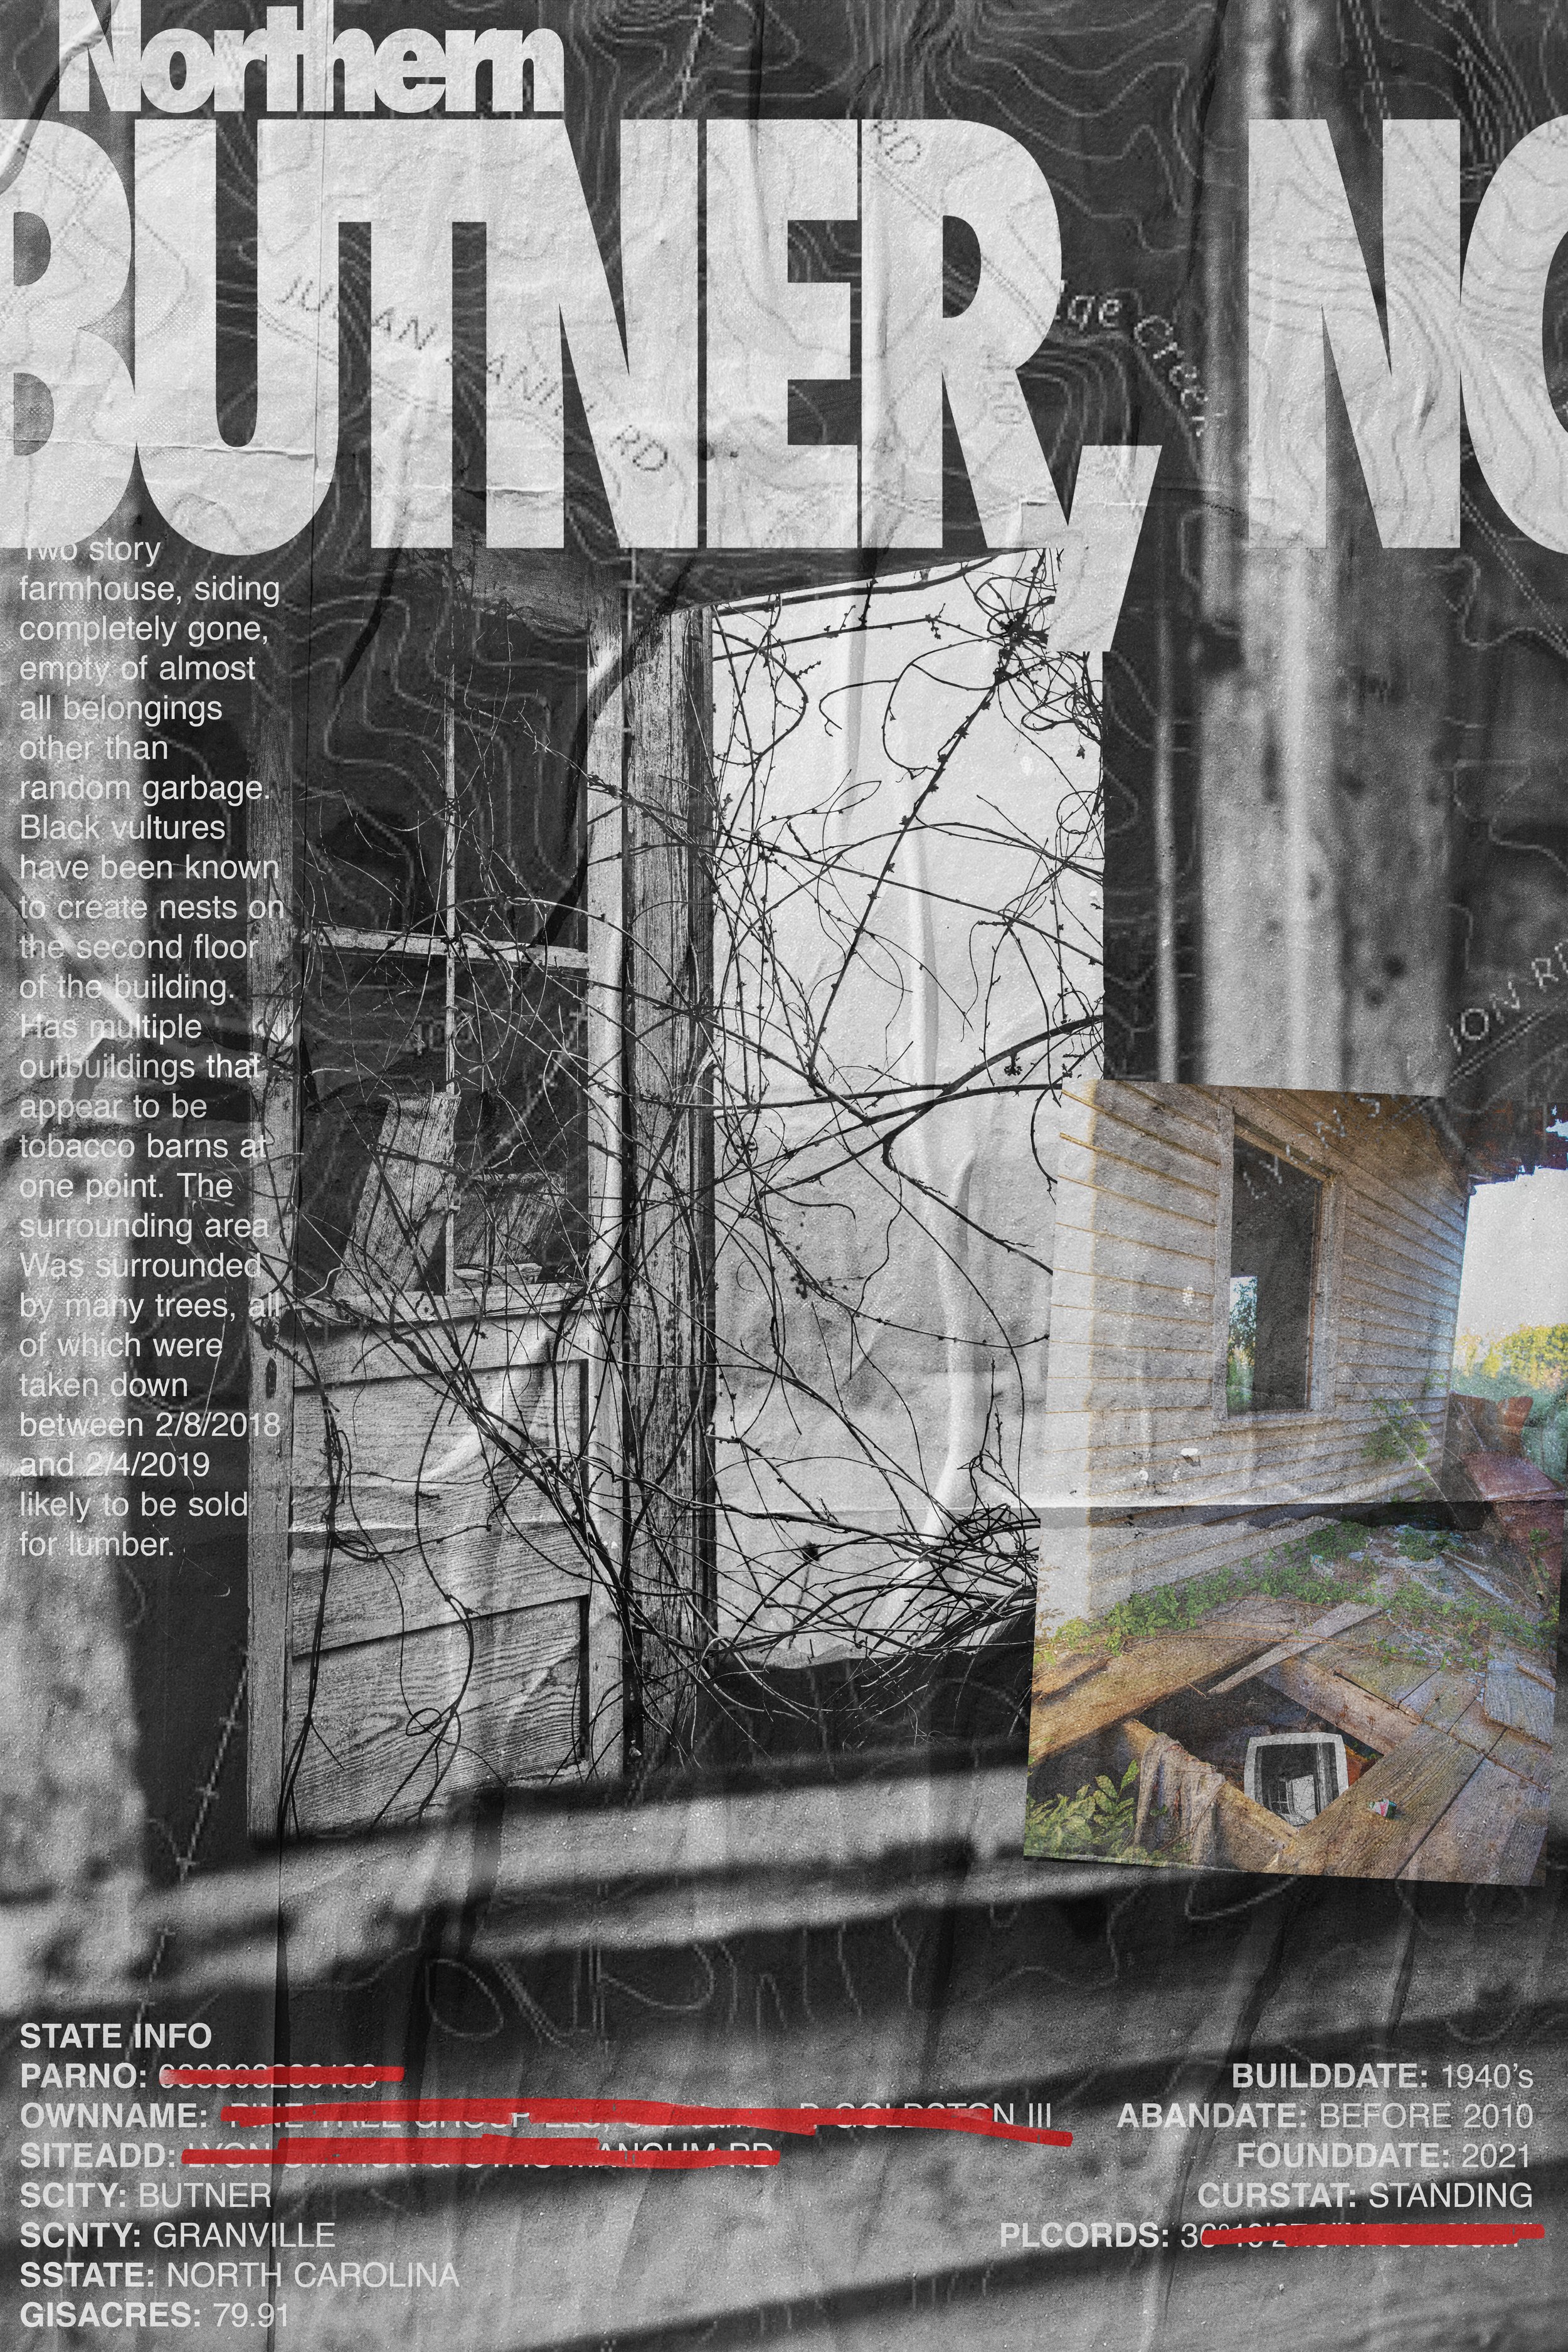
After spending the past few years working on Left & Lost I am really enjoying how it is coming along and all the progress I have made and plan to continue this project indefinitely. However, I felt that there was so much more to be said about the locations I’ve visited, I have done so much research why not try to find a way to share it with others? It was from this desire that a new branch of the Left & Lost project was born; the Left & Lost Flyers. These would be works of art designed to look like deteriorated government documents combined with posters that would provide a visually intriguing vehicle to communicate all of the knowledge I hold about these locations.
When creating a flyer I would first establish what image I wanted to work with, then I would go onto the government topographic map and find the location the image was taken and screenshot the map with the location in the center. I then gather the information I need for the “state information” section. I use many sources to compile this information such as government tax maps, google maps, and google earth. I use the tax map to gain information such as who the property owner is, how large the property is, and when it was last sold along with other information. Google maps is useful to figure out the latitude/longitude of the site as well as the street address, if the location has one. In the event the location is a home and the street address can be found, I use the address and search it on sites like zillow or realtor to try and determine when the location was built, how much it last sold for and any other information that might be useful. I use google earth’s timeline satellite image feature to attempt to determine when the location was abandoned as well as any other information that would be interesting enough to include within the poster. Not only do I have a “state information” section I also wanted to document some of the other interesting details I know about the location and provide an in depth explanation of said location which so i tend to write a rather large paragraph encompassing all of said information.
Once I have gathered all of the information necessary I start by opening the base location image in photoshop and then add a paper texture below it. I then blend the two together to give the illusion that the image is actually on a sheet of paper, doing so provides alot of texture and intrigue which I love. Afterwards I apply the topographic map overtop of the image, set it to black and white, and select a blending mode which shows the map faintly over the entire image. Afterwards I input the.
When I started considering making this idea my senior project I knew that I had to change a few things. The prints needed to be larger (the originals were both 4x6 and 8x10) and they needed to be on nicer paper that would hold up better but still be susceptible to anything they might encounter. I tested out many different types of paper but ultimately settled on Moab Entrada Rag Bright 300 as it was a robust paper that would hold up well but would be able to trap more dirt and stains due to the fact that it was a matte rather than a glossy paper. I also choose to print the images in black and white rather than in color so that the alterations and changes the prints undergo are the main focus which would not be the case if they were in color. Below are images that display a large version of the printed image on the right, then on the left there are four images. They depict the printed image in smaller form, then 3 images documenting the print in the space over time. Bellow these images are the printed images again but this time they are able to be enlarged if you wish to view them more closely.


